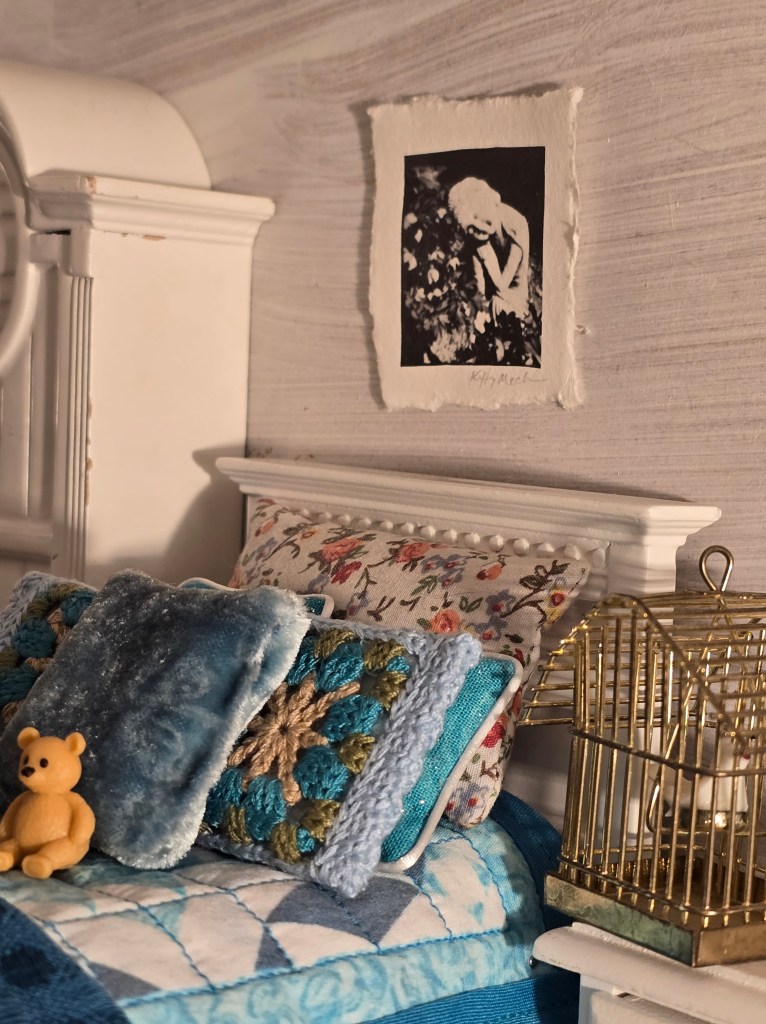
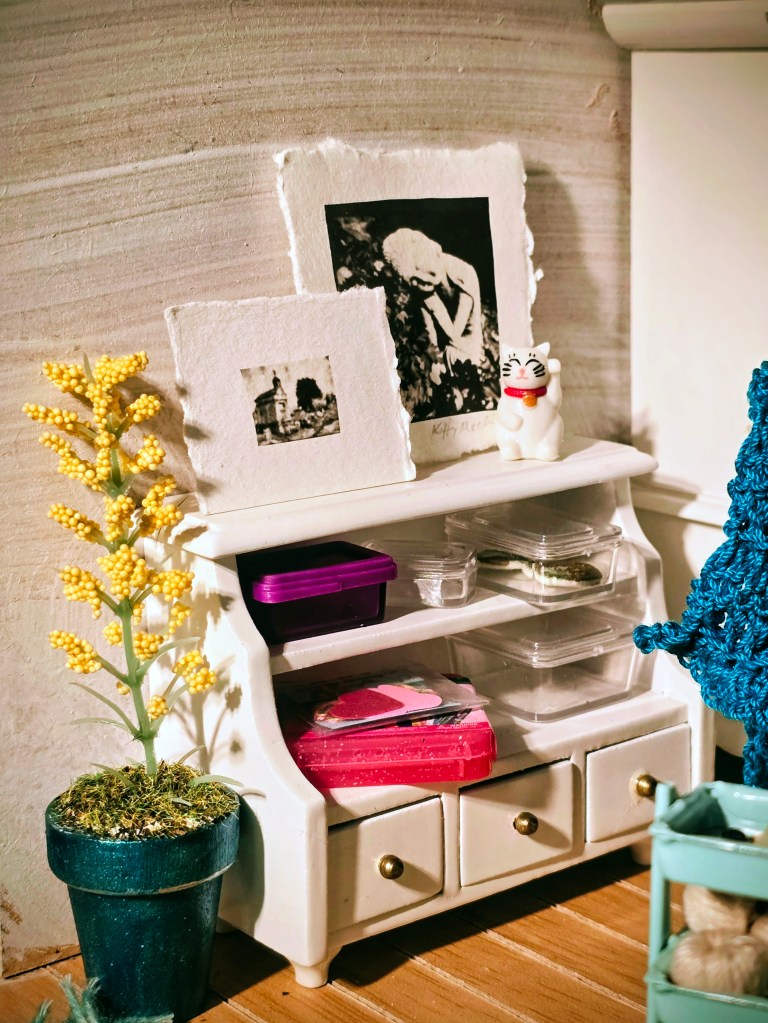
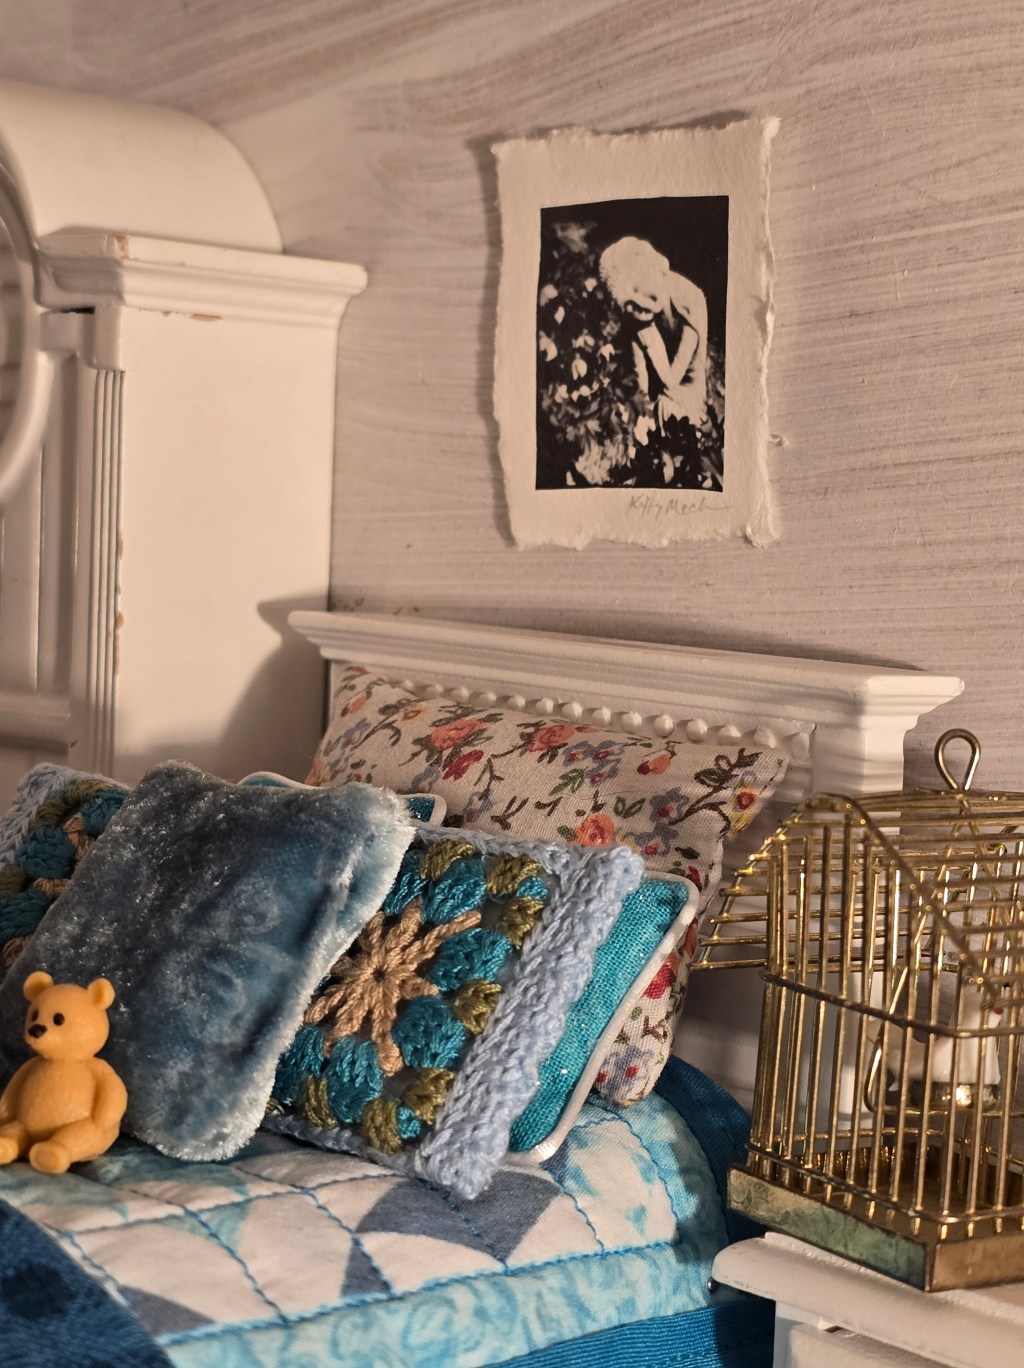
If you love the nostalgic look of Polaroids and you want to add this to your miniature decor, then this is for you!
FULL DISCLOSURE: I receive a small compensation as an Amazon affiliate if you purchase through my Amazon links. I do not receive any compensation from Polaroid.
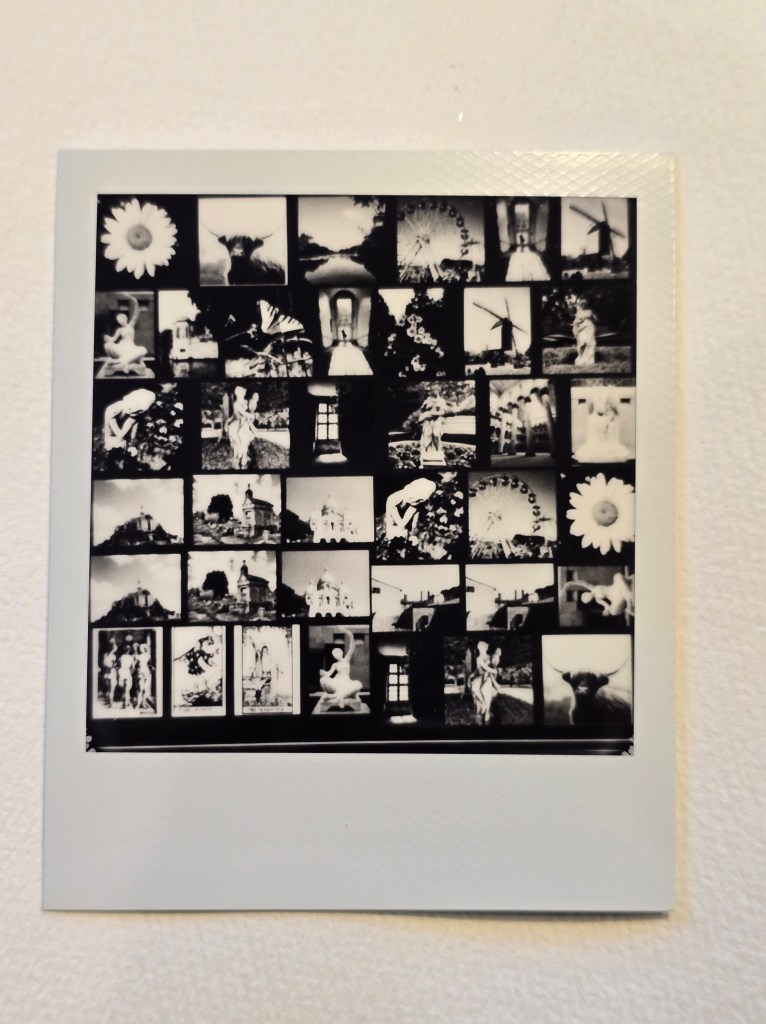
I previously made Polaroid transfers with traditional Polaroid film (that is no longer available). I recently learned the full-size technique using the Polaroid Lab and the I Type film from Lindsay Metivier owner/artist of the Peel Gallery (she offers classes!). I added the multi-image version.
You need a few things:
2a. Polaroid Black & White Instant Film for the Lab – easier to do – suggested for beginners
or
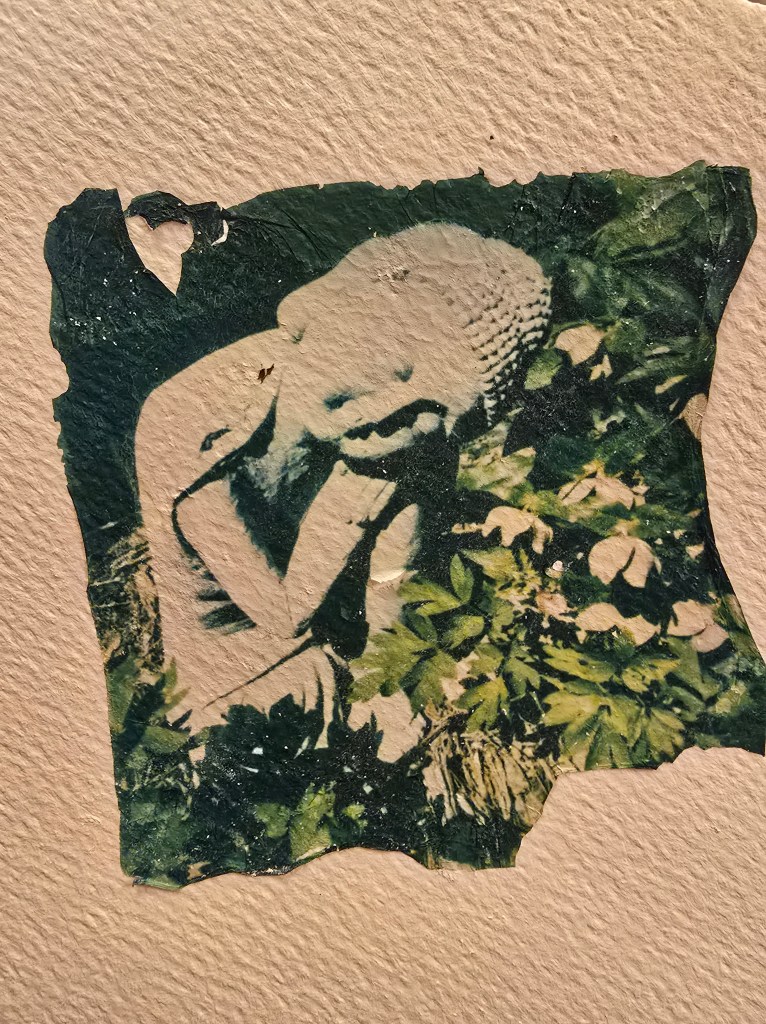
2b. Polaroid Instant Color Film for i-Type for the Lab – brighter – longer to do, have to work more carefully
3. Watercolor Paper – does not need to be high grade. You can apply these to glass, wood, or other surfaces.
4. Cell phone with your photos and app.
5. Low, flat dish for water – I used a glass baking dish, but you could use plastic.
6. Hot water – Since I was doing the nine images, I would heat a mug full of hot water and add to the dish between every couple images to keep the temperature up.
7.Soft paintbrush – I used a watercolor brush with a round point.
8. Sizzors
The Process:
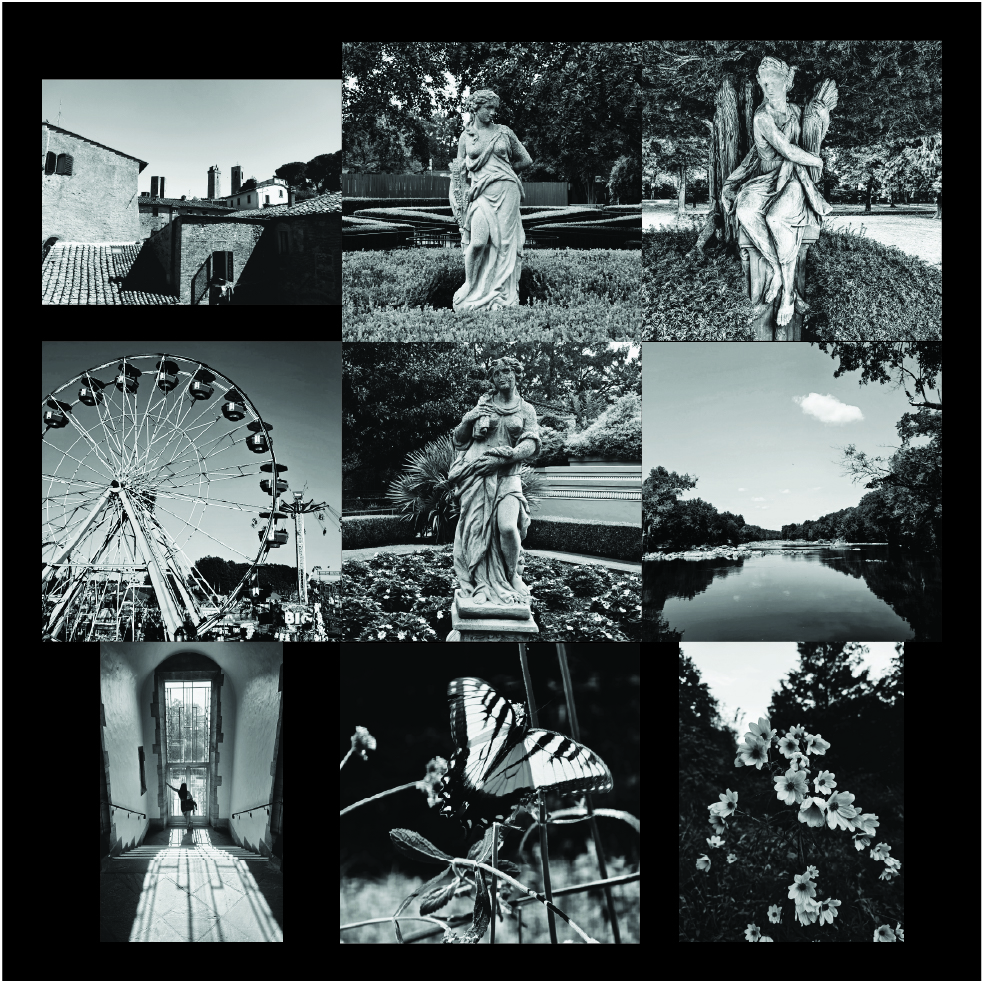
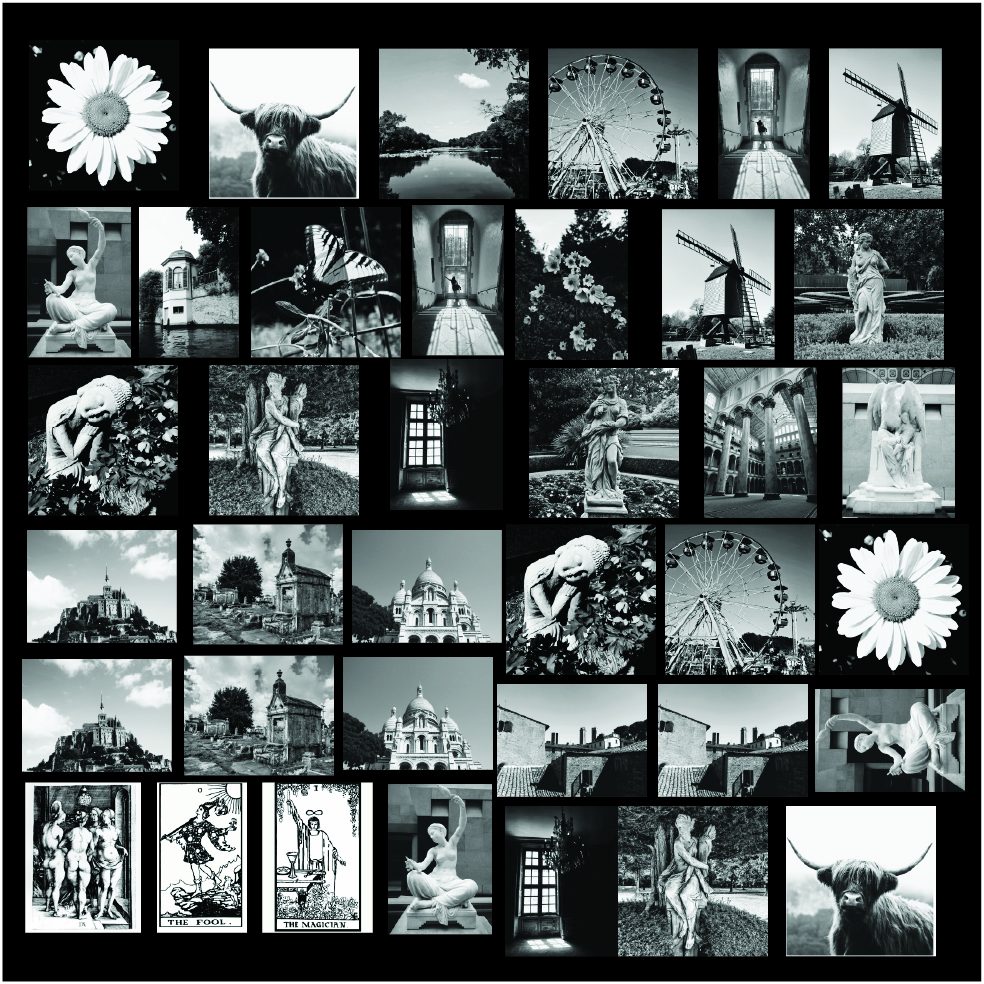
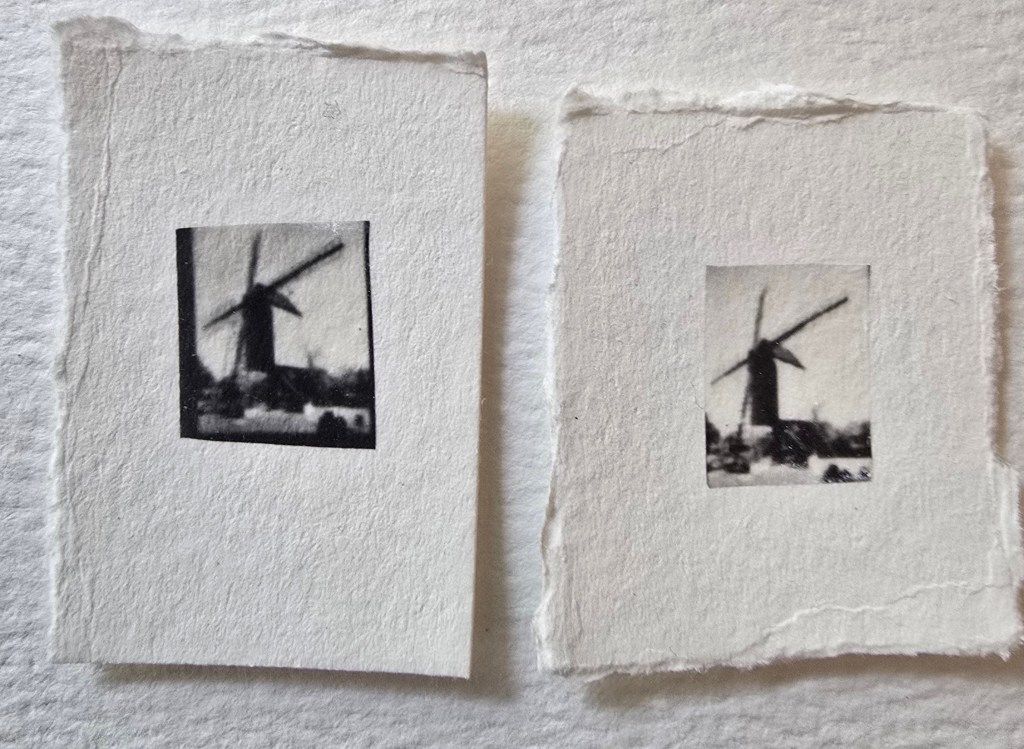
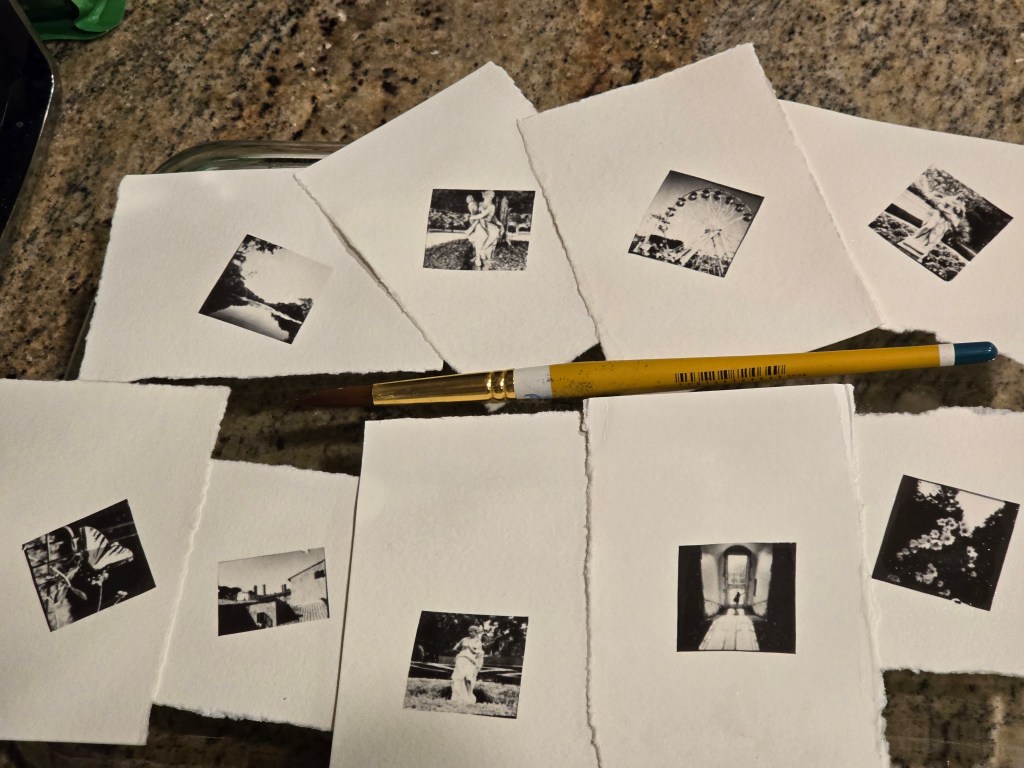
Decide what pictures that you want to use from the pictures on your cellphone. It is easiest if you move these into a folder on your phone. I wanted to create smaller transfers, rather than a full-size polaroid, so I found nine pictures to print.
- Keep in mind that Polaroids are basically a square and the process will cut off anything that is not a 1:1 ratio.
- High contrast are the best for black and white images.
- If you want even smaller pictures, you could do a bunch of pictures at one time!
I combined the nine pictures into a grid single picture. You can use multiple apps to do this – Canva, Illustrator, PicCollage, etc. I used Illustrator. I also used a black background to make it easier to cut out later.
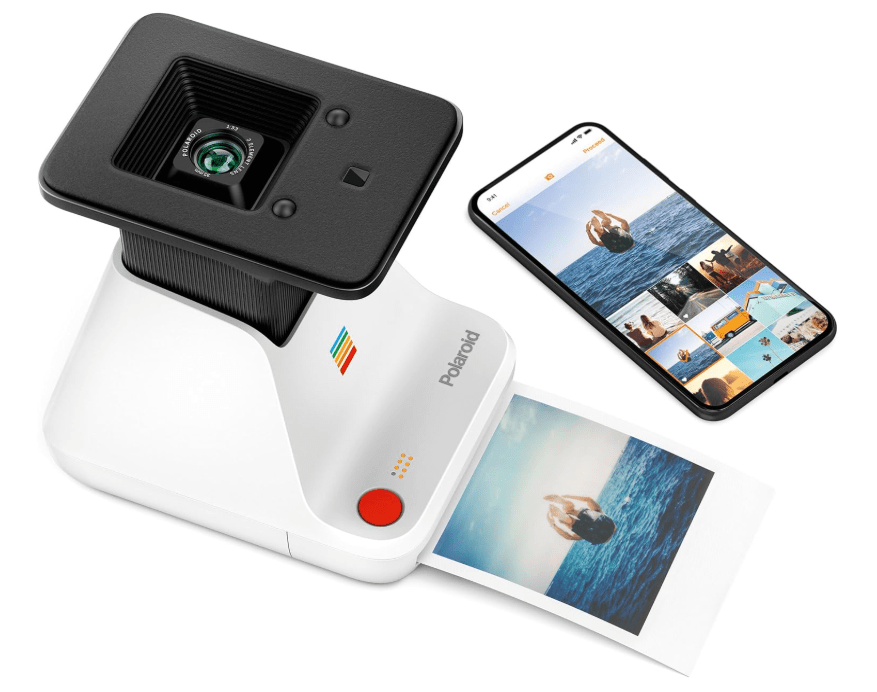
Download the Polaroid App onto your phone. It is available for both Android and Apple phones.
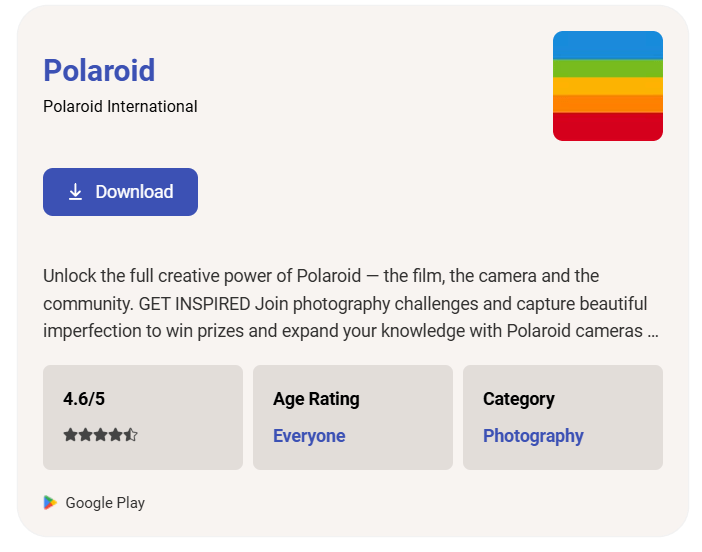
On the Polaroid App there is a video “How to use the Lab”. Follow these instructions and print your Polaroid photo.
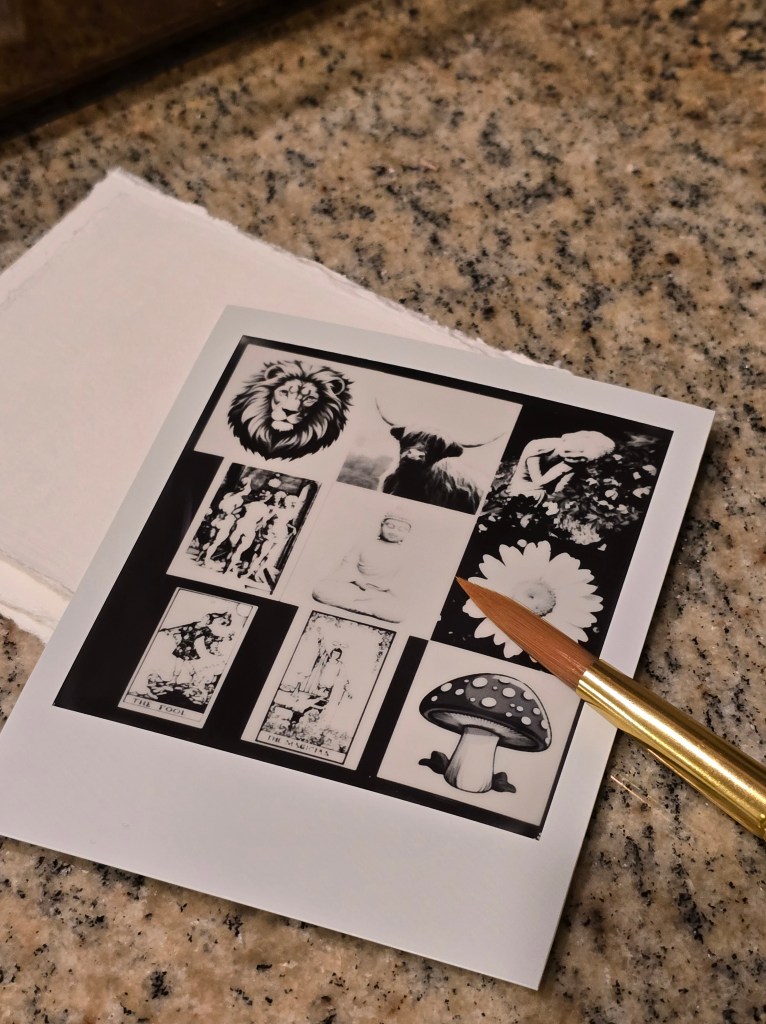
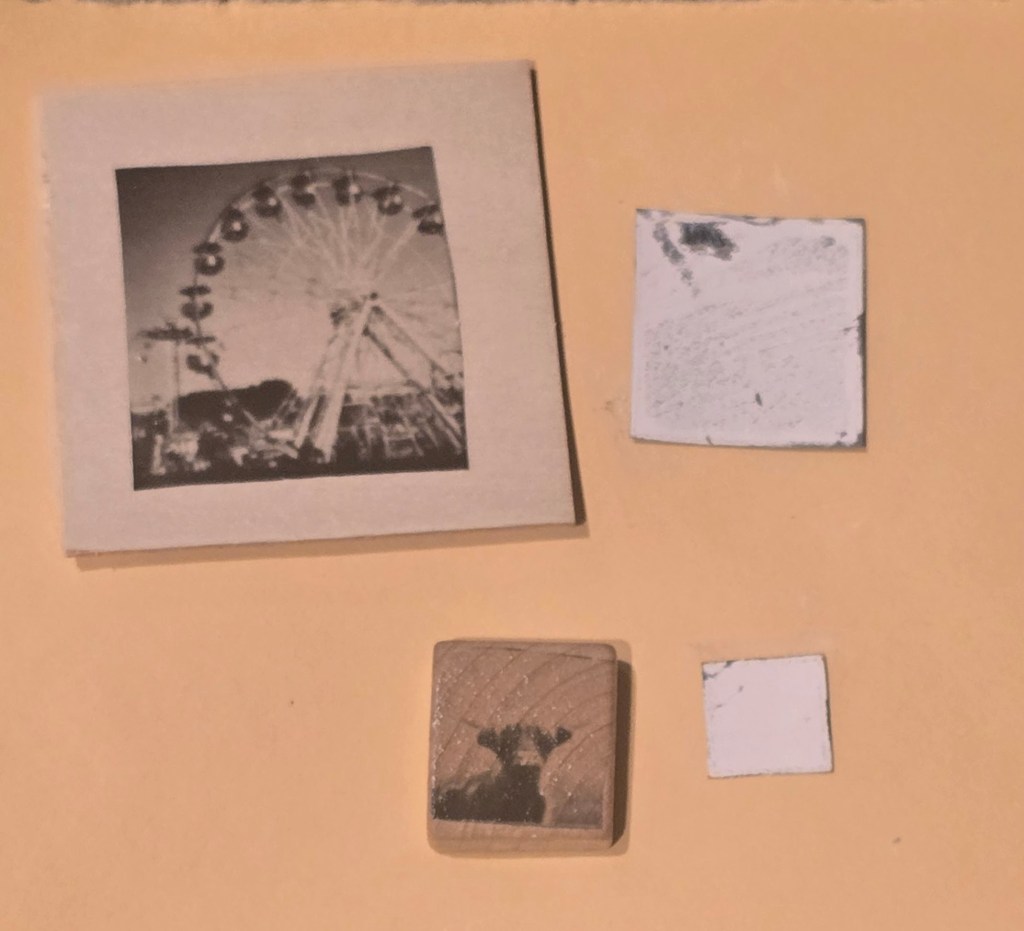
Cut out the individual images. You can see in the image above that these are not all 1:1 ratio.
Peel the top clear plastic layer off. (There may be some white residue and it may look ruined, but don’t panic.)
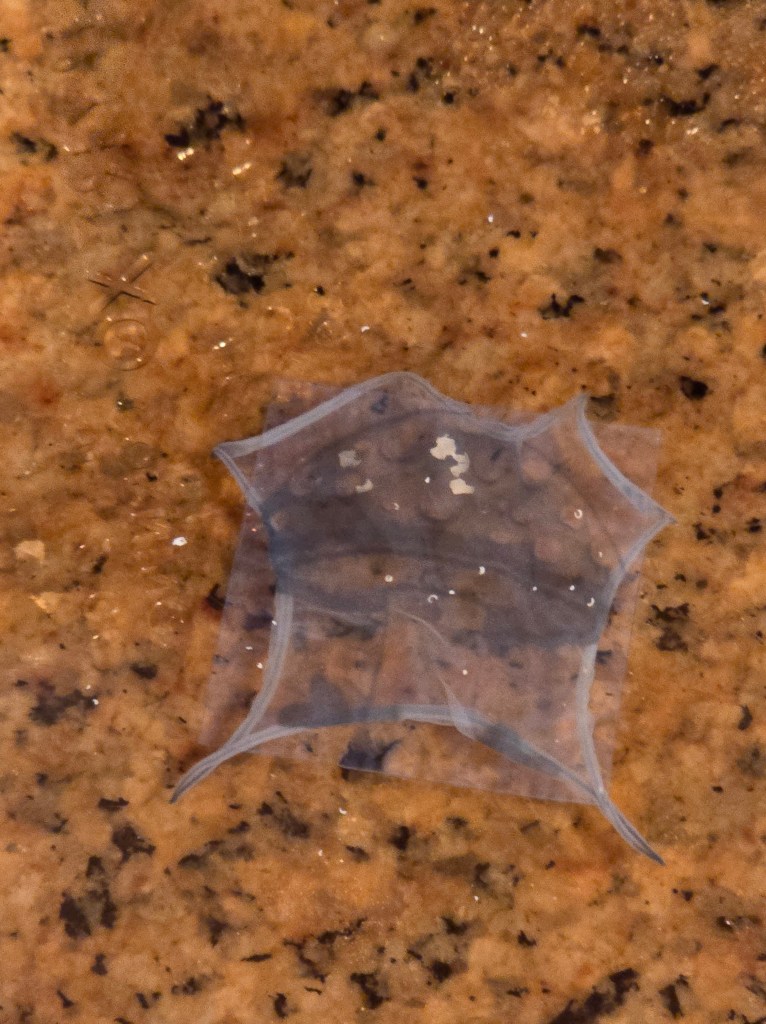
Put about two inches of hot water into a flat container and place ONE image into the water. After you try this a few times, you may want to try multiples at the same time. Just don’t let them get tangled up together in the water.
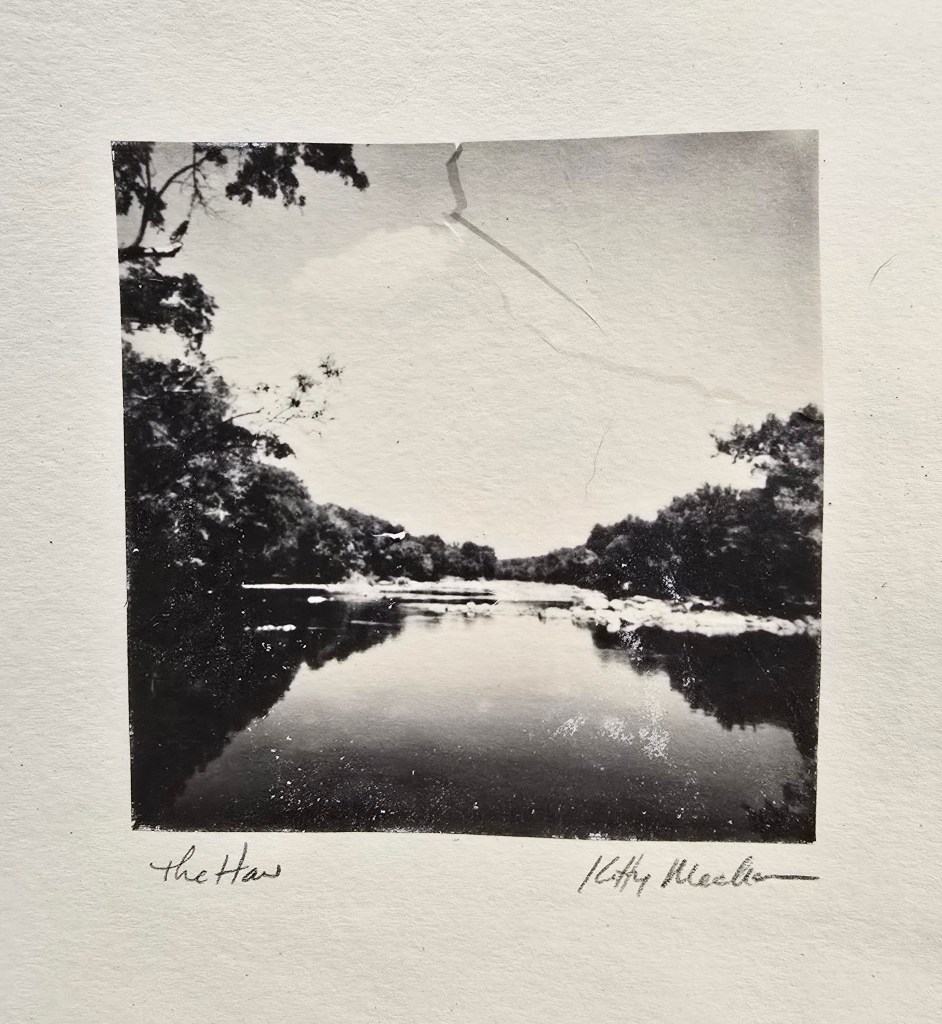
The image/emulsion will start to separate from the backing. Use the paintbrush to gently encourage the white residue to let go of the image. *The b&w image is very fragile (the color is VERY, VERY fragile!) ** The b&w will separate rather quickly, whereas the color is very slow. You will see the edges curl up and it should completely float off of the back.
Slip the watercolor paper (or other surface, such as glass or wood) under the floating image. Use the paintbrush to position the image where you want and to uncurl the edges. Take your time and be very gentle. It is best to keep the paintbrush wet, so it doesn’t rip the emulation.
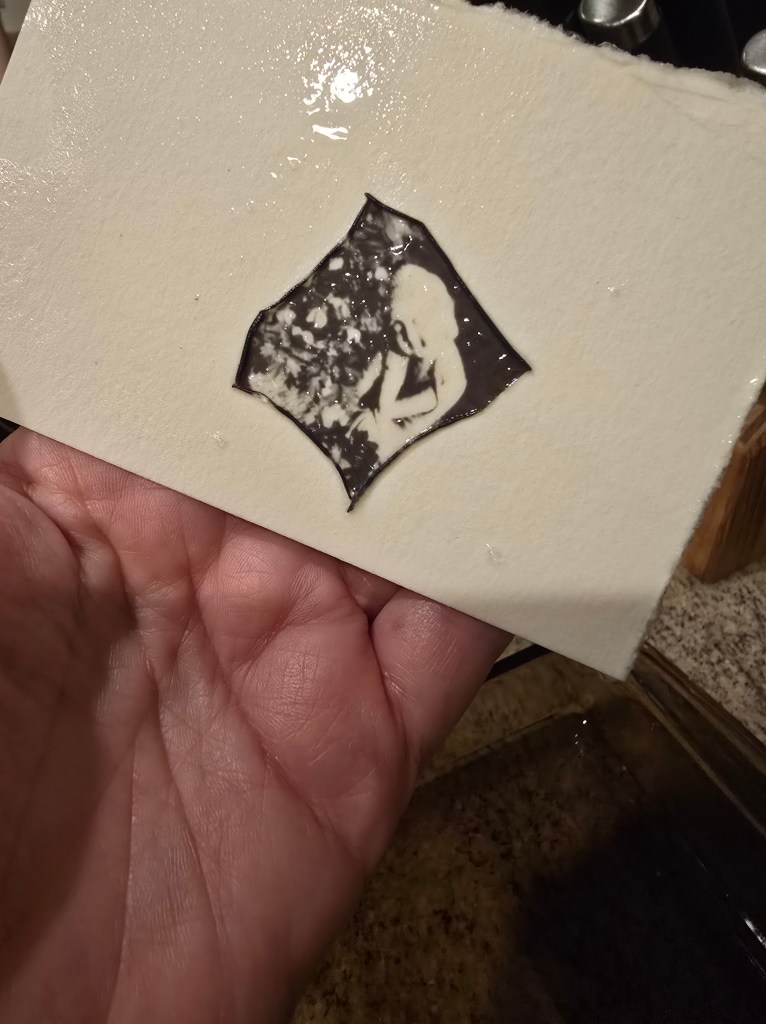
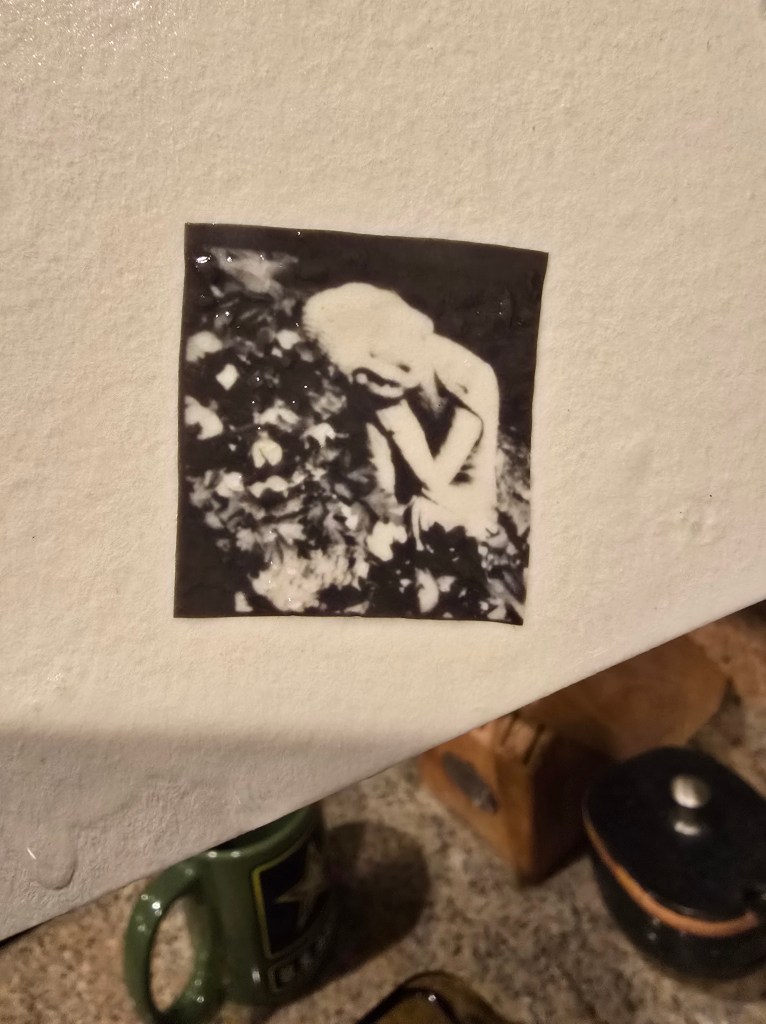
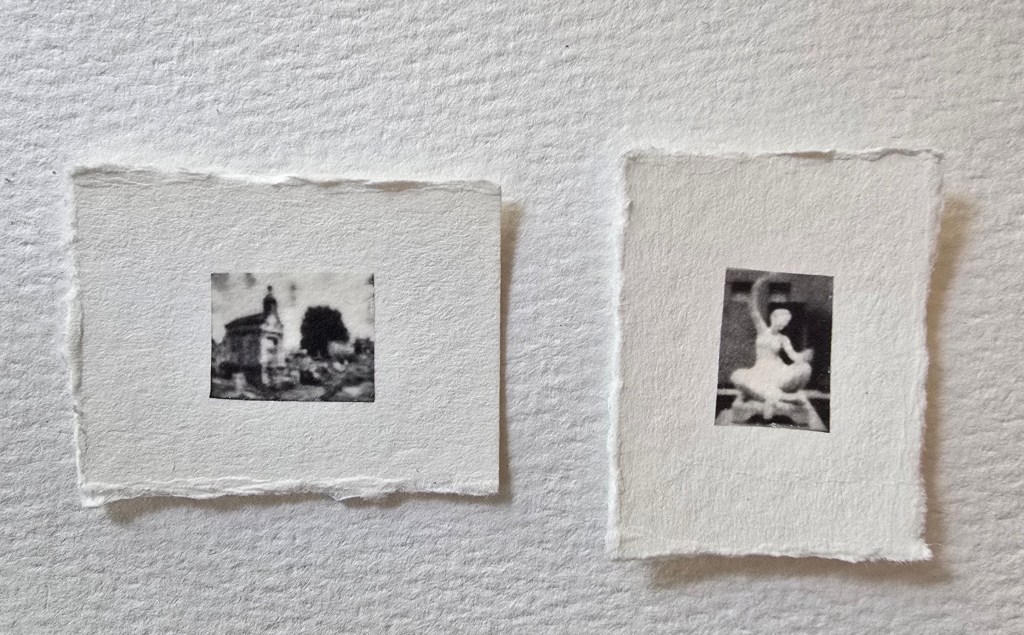
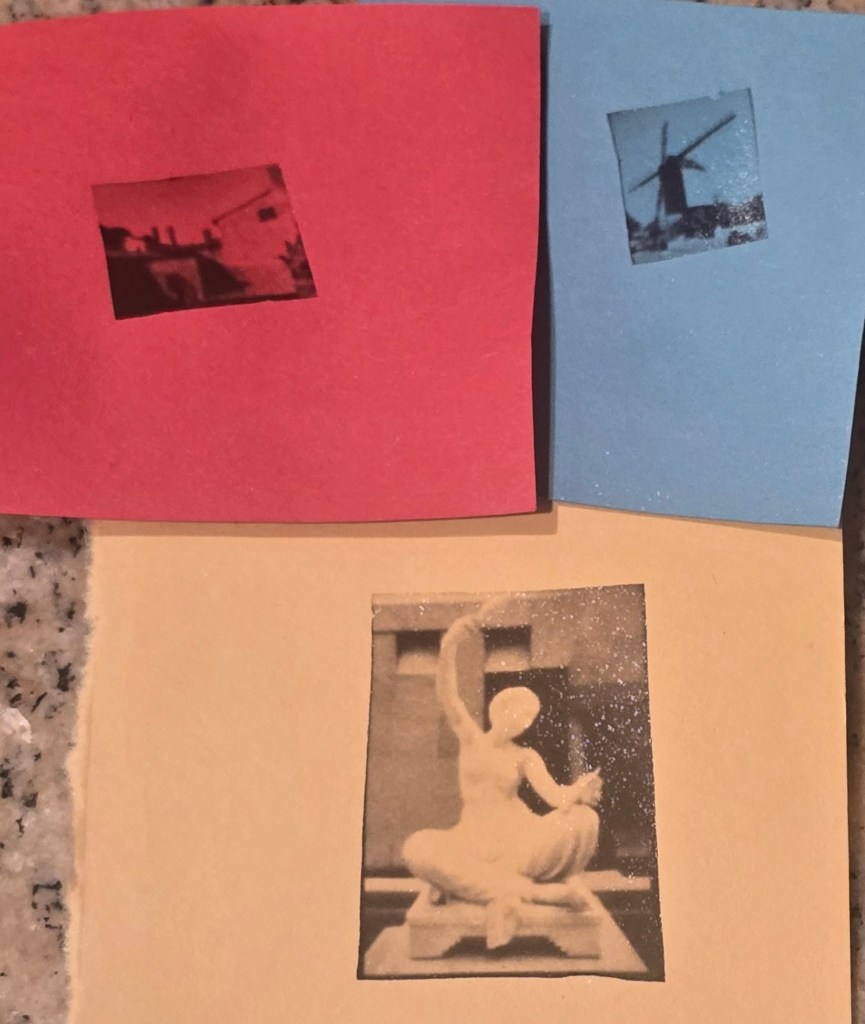
Make sure to allow it to completely dry before handling.
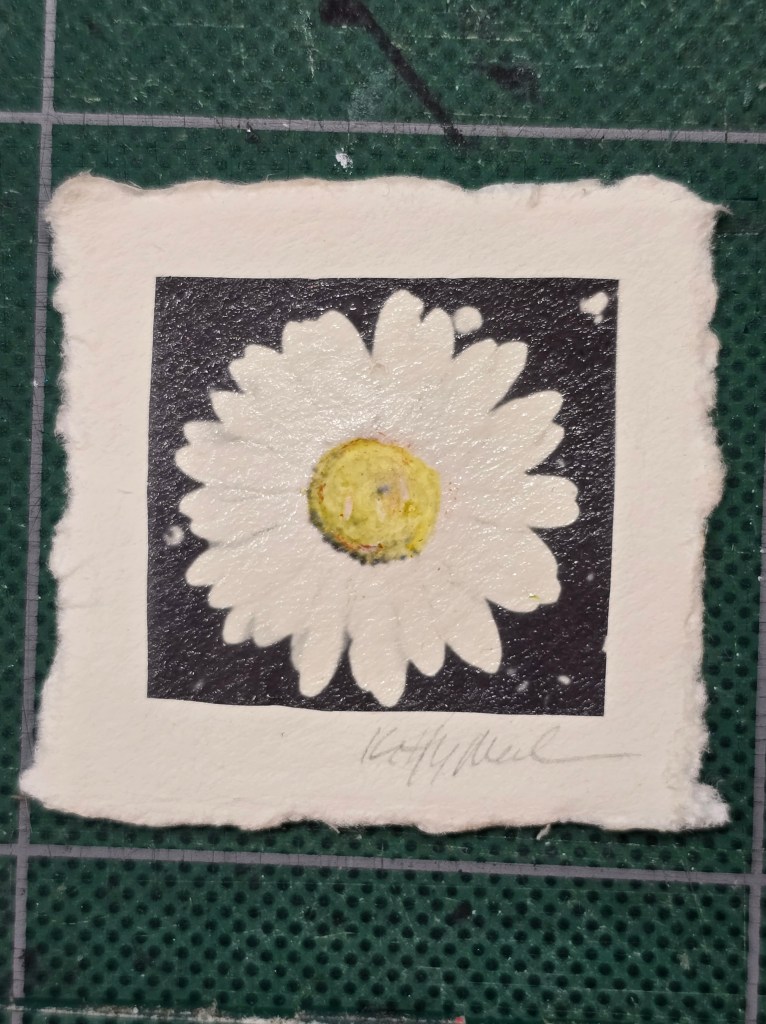
You can use colored pencils or pens to gently color the b&w images.

Have Fun experimenting with the Polaroid Lab and I Type film!


Leave a comment